
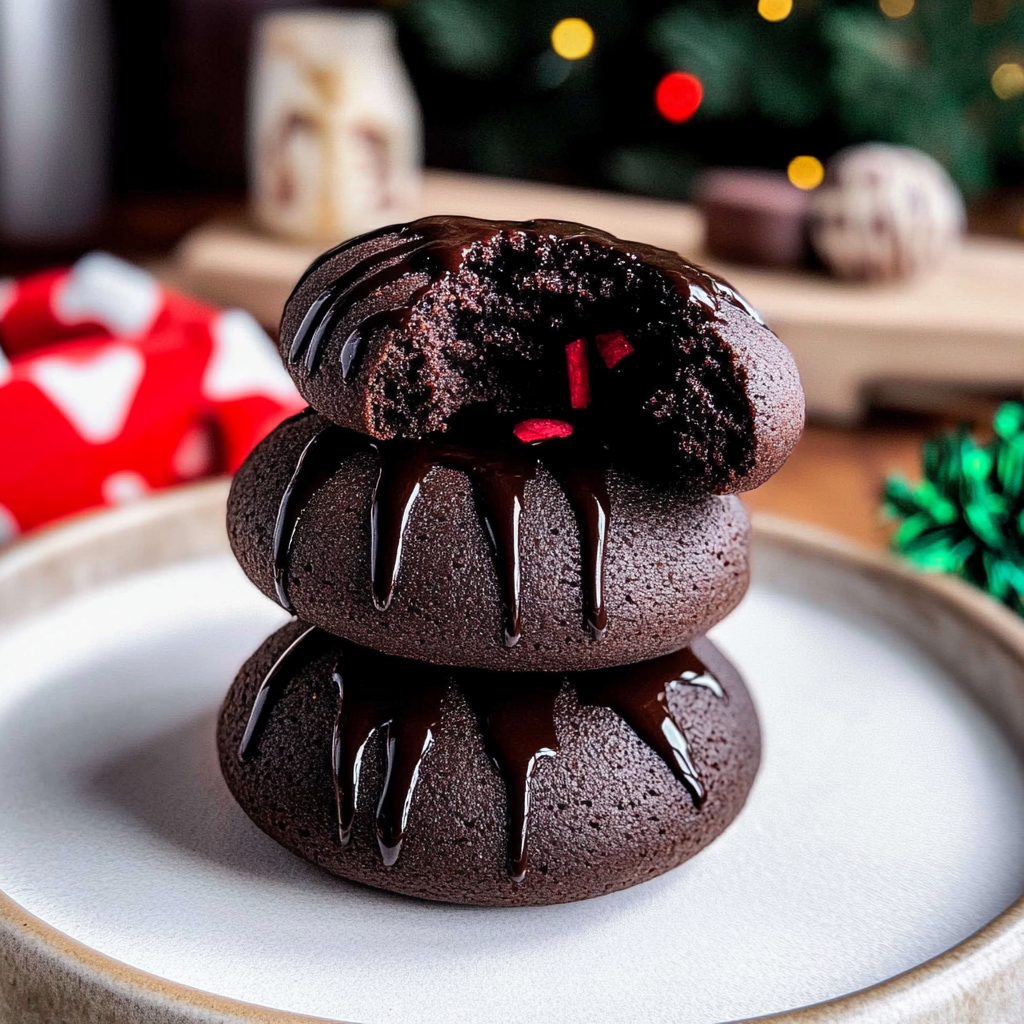
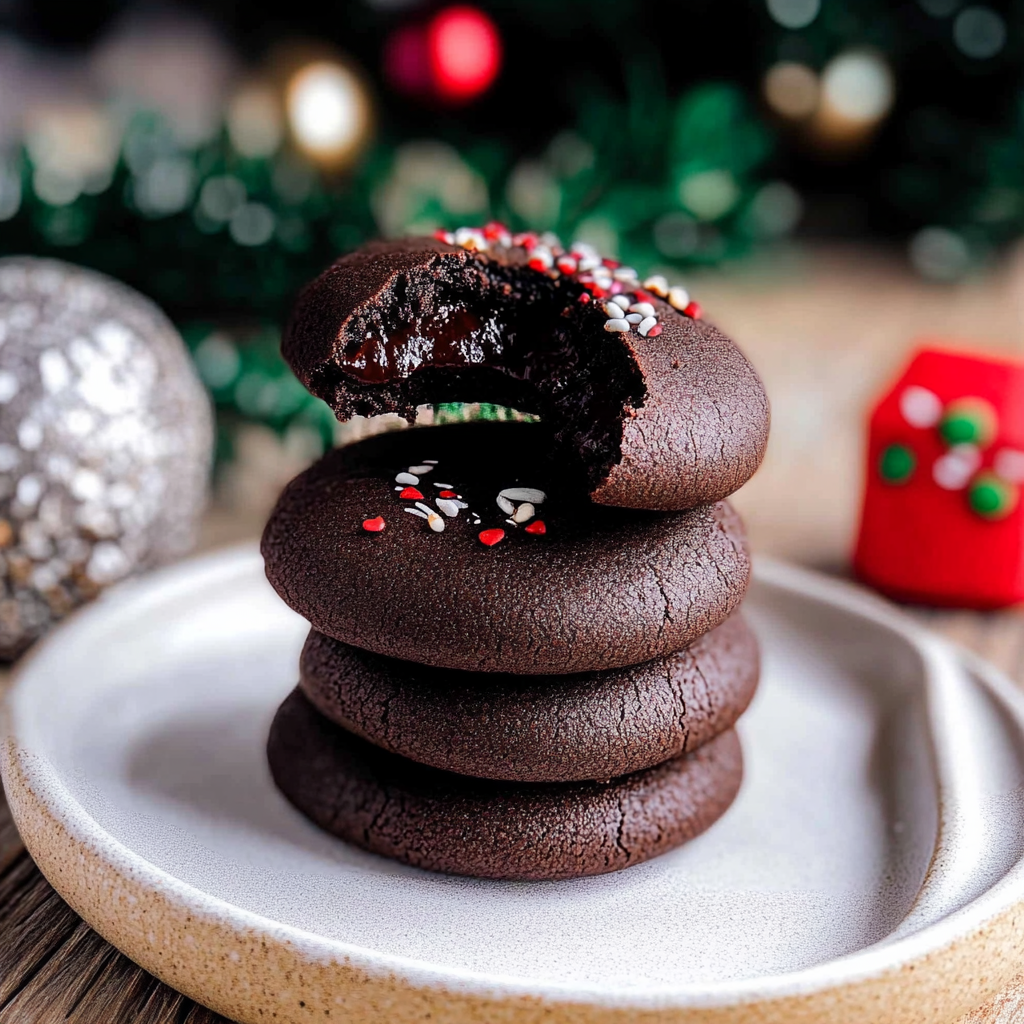
There’s something undeniably enchanting about the aroma of freshly baked Chocolate Thumbprint Cookies wafting through your kitchen, right? Picture this: you open the oven door, and a wave of rich chocolate fills the air, making it impossible to resist grabbing one (or ten). chewy banana bread cookies eggnog snickerdoodle cookies These delightful treats are not just cookies; they are little bites of happiness that can transform any dull day into a sweet celebration. For more inspiration, check out this chocolate-covered strawberries recipe recipe.

As I sat down to bake these cookies, I couldn’t help but recall the first time I made them. It was during a chilly winter afternoon when my friends came over for a baking marathon. We laughed, we danced to cheesy music, and we ended up with flour on our noses and gooey chocolate on our fingers. Those moments made me realize that baking isn’t just about the end product; it’s about creating memories that stick like melted chocolate on your fingertips. For more inspiration, check out this concerns about air frying recipe.
Why You'll Love This Recipe
- These Chocolate Thumbprint Cookies are super easy to make, even for beginners
- The rich chocolate flavor combined with the gooey filling is irresistible
- Their charming appearance makes them perfect for gifting or special occasions
- You can customize the fillings for endless variations!
I remember serving these cookies at a family gathering, and watching everyone’s faces light up after their first bite. That satisfied “mmmmm” sound is still music to my ears.
Essential Ingredients
Here’s what you’ll need to make these delicious treats:
- All-Purpose Flour: This forms the base of your cookies. Opt for unbleached flour for better flavor.
- Cocoa Powder: Use high-quality unsweetened cocoa powder for that deep chocolate flavor.
- Granulated Sugar: Sweetens the dough perfectly; don’t skimp on this ingredient!
- Butter: I recommend unsalted butter for better control of flavors.
- Egg Yolk: This adds richness to the dough; don’t use egg whites here!
- Chocolate Chips or Nutella: For filling; choose your favorite chocolatey goodness!
The full ingredients list, including measurements, is provided in the recipe card directly below.
Let’s Make it together
Gather Your Ingredients: Start by collecting all your ingredients on the counter. Preheat your oven to 350°F (175°C) so it’s ready when you are.
Create the Dough: In a mixing bowl, cream together butter and sugar until fluffy and pale. Add in cocoa powder and flour gradually while mixing until combined.
Add Egg Yolk: Stir in the egg yolk until fully incorporated. The dough should come together nicely without being sticky.
Scoop and Roll Balls: Using a cookie scoop or tablespoon, take portions of dough and roll them into balls. Place them on a lined baking sheet with enough space between each ball.
Make Thumbprints: Press your thumb gently into each cookie ball to create an indent. Don’t worry if they crack slightly; it adds character!
Bake and Fill: Bake in preheated oven for 10-12 minutes until set but still soft. Remove from oven and fill each thumbprint with chocolate chips or Nutella while warm.
Now you’re ready to indulge! Let them cool slightly before devouring those little bites of joy.
These Chocolate Thumbprint Cookies are not just dessert; they’re an experience waiting to happen! So gather your loved ones, bring out the milk, and enjoy every chocolaty moment together! festive Christmas cookies.
You Must Know
- Chocolate thumbprint cookies are not just delicious; they’re a sweet reminder that life is better with chocolate
- Their rich, fudgy texture and melting chocolate center will win over even the most discerning dessert lovers
- Bake these for a cozy night in or a festive gathering!
Perfecting the Cooking Process
Start by preheating your oven to 350°F. While it warms, mix your dough and chill it for at least 30 minutes. This helps create those perfect, chewy centers while preventing spreading.
Add Your Touch
Feel free to swap out the chocolate filling with your favorite jam or nut butter. You can also experiment with different nuts sprinkled on top for added crunch and flair!
Storing & Reheating
Store your chocolate thumbprint cookies in an airtight container at room temperature for up to one week. If you need to reheat them, pop them in the microwave for about 10 seconds to bring back their soft texture. vegan pistachio cookies.
Chef's Helpful Tips
- For perfect chocolate thumbprint cookies, use room-temperature butter for easy creaming
- Make sure to chill the dough well to prevent spreading during baking
- Try using different fillings like caramel or hazelnut spread for variety!
It’s always heartwarming when friends rave about these cookies at gatherings. I remember one friend devouring them and declaring they were “better than therapy!” Such moments make baking even more rewarding.

FAQ
Can I use dark chocolate instead of milk chocolate?
Yes! Dark chocolate adds a rich flavor that pairs beautifully with the cookie base.
How can I make these cookies gluten-free?
Simply substitute regular flour with gluten-free flour blends available in stores.
What should I do if my dough is too sticky?
Chill the dough longer or sprinkle a bit of flour while shaping to manage stickiness effectively.

Chocolate Thumbprint Cookies
- Total Time: 27 minutes
- Yield: Approximately 12 cookies 1x
Description
Indulge in the delightful experience of Chocolate Thumbprint Cookies, where rich, fudgy chocolate meets a gooey center in every bite. These easy-to-make treats are perfect for any occasion, transforming simple moments into sweet celebrations. Whether you’re baking for a family gathering or just to satisfy your sweet tooth, these cookies promise smiles and satisfaction with their irresistible flavor and charming appearance.
Ingredients
- 1 cup all-purpose flour
- 1/4 cup unsweetened cocoa powder
- 1/2 cup granulated sugar
- 1/2 cup unsalted butter (softened)
- 1 egg yolk
- 1/2 cup chocolate chips or Nutella for filling
Instructions
- Preheat the oven to 350°F (175°C).
- In a mixing bowl, cream together softened butter and sugar until fluffy.
- Gradually add cocoa powder and flour, mixing until fully combined.
- Stir in the egg yolk until incorporated; the dough should be smooth and not sticky.
- Scoop dough into balls and place them on a lined baking sheet, leaving space between each.
- Press your thumb gently into each ball to create an indent.
- Bake for 10-12 minutes until set but soft. Remove from the oven and fill each indentation with chocolate chips or Nutella while warm.
- Prep Time: 15 minutes
- Cook Time: 12 minutes
- Category: Dessert
- Method: Baking
- Cuisine: American
Nutrition
- Serving Size: 1 cookie (20g)
- Calories: 100
- Sugar: 8g
- Sodium: 30mg
- Fat: 5g
- Saturated Fat: 3g
- Unsaturated Fat: 2g
- Trans Fat: 0g
- Carbohydrates: 12g
- Fiber: 1g
- Protein: 1g
- Cholesterol: 15mg